Why Install a No-Drill Smart Lock?
If you're a renter, apartment dweller, or DIY beginner tired of fumbling with keys, a no-drill smart lock is your new best friend. These retrofit devices—like the August Smart Lock, Schlage Encode, or Yale Assure Lock 2—fit right over your existing deadbolt. No holes, no landlord drama, and installation in under 10 minutes using just a screwdriver.
That's right: "how to install smart lock no drilling" is easier than you think. You'll unlock keyless entry, app control, and guest codes without tools beyond basics. Perfect for busy folks who want security upgrades that are reversible and renter-friendly.
In this guide, we'll walk through every step with time estimates, safety tips, and beginner pitfalls to avoid. By the end, you'll breeze through setup and enjoy smarter home access.
Materials and Tools Needed
You'll need minimal gear—great for no-drill simplicity.
- Your chosen no-drill smart lock kit (e.g., August Wi-Fi Smart Lock, Schlage Encode Smart WiFi Lever, or Yale Assure Lock retrofit)
- Phillips screwdriver (usually size #2; included in some kits)
- Smartphone (iOS or Android) with Bluetooth/Wi-Fi
- Your home Wi-Fi network details
- Spare key to your deadbolt (safety must!)
Time to gather: 1 minute. Pro tip: Charge your phone fully and download the app (August Home, Schlage Home, or Yale Access) ahead.
Safety Tips Before You Start
Safety first keeps this fun and stress-free.
Lock yourself out? Avoid it by testing with your physical key handy. Work during daylight or with good lighting. If you're in a multi-unit building, inform neighbors about temporary door fiddling.
Renter perk: Everything reverses in minutes—no damage proof for security deposits.
Total prep time: 2 minutes. Ready? Let's dive in.
Step 1: Choose and Check Compatibility (1 Minute)
Not all deadbolts play nice, but most do. Start here to avoid frustration.
Measure your door: Standard thickness is 1.375–1.75 inches. Check your interior thumb turn (knob inside)—it should spin freely without resistance.
Compatible types:
- Single-cylinder deadbolts (key outside, thumb turn inside)
- Most Kwikset, Schlage, or Yale brands
- Avoid double-cylinder (key both sides) or smart deadbolts already
Grab your lock from Amazon or Best Buy—August works with 90% of setups. Test fit: The retrofit plate should cover your old thumb turn hole cleanly.
Common mistake: Skipping this. Measure twice, or return it hassle-free.
Why renter-friendly? No exterior changes—your door looks unchanged from outside.
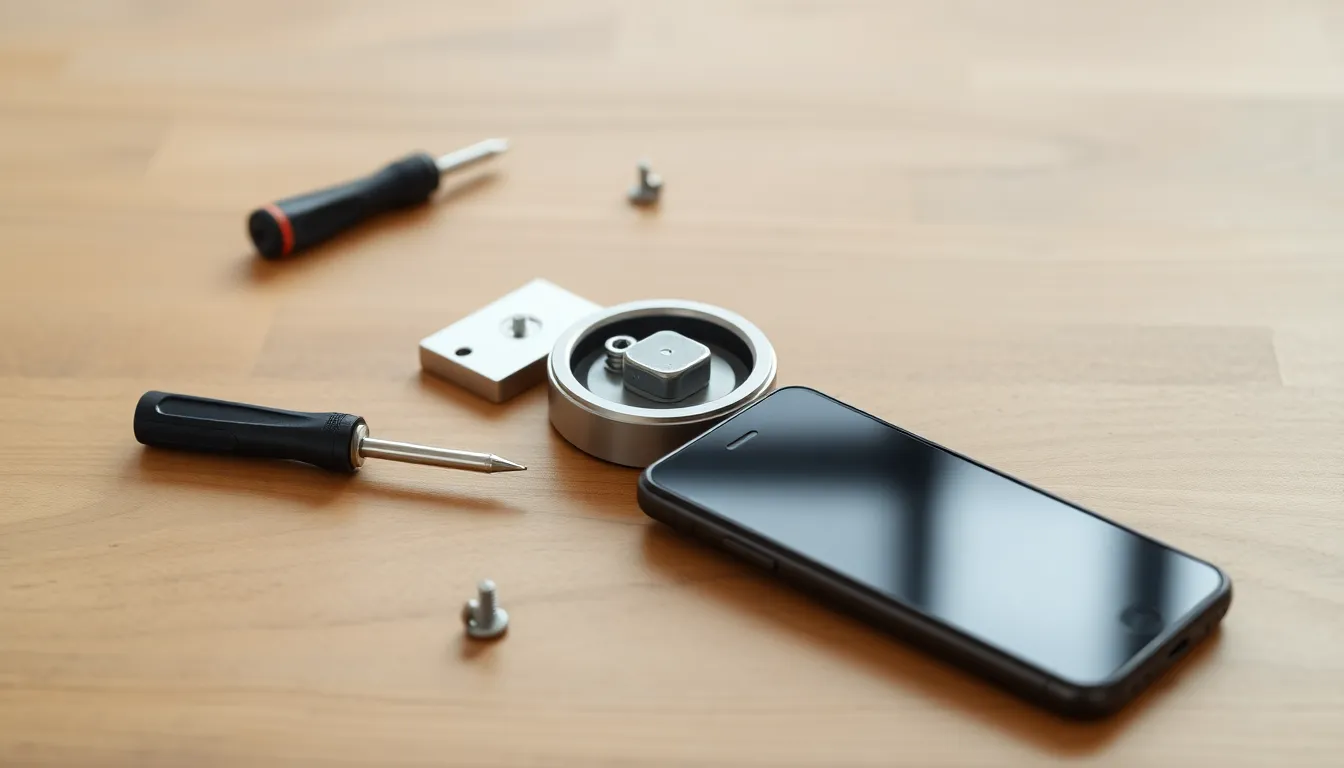
Step 2: Unbox and Prepare (1 Minute)
Rip open the box excitement!
Inside: Interior smart lock assembly, mounting plate (wing plate), screws, batteries (usually 4 AA), quick-start guide, and sometimes adhesive pads.
Prep checklist:
- Insert batteries into the lock body (twist open compartment).
- Charge any included bridge (for Wi-Fi models) via USB.
- Peel any protective films.
- Download app and create account.
App bonus: iOS users love Siri shortcuts; Android gets Google Home integration.
Pitfall: Dead batteries mid-install? Test them with a multimeter or swap.
You're set—no drilling tools needed.
Step 3: Remove the Old Interior Lock Plate (2 Minutes)
Time to evict the old thumb turn.
Safety: Prop door open with a wedge. Have your key inserted outside for quick access.
Steps:
- Locate 2-4 screws on the interior thumb turn plate (face of door inside).
- Use Phillips screwdriver to loosen counterclockwise. Keep screws safe—they're reused sometimes.
- Gently pull off the plate. The thumb turn spindle (metal bar) stays in the door.
- Wiggle out the thumb turn mechanism if attached.
Result: Exposed hole where smart lock mounts. Dust off with a cloth.
Beginner tip: Screws tight? Apply steady pressure—don't strip. If stuck, WD-40 lightly (wipe excess).
Renter win: Exterior untouched. Reverse anytime.
Step 4: Mount the New Smart Lock (3 Minutes)
The magic: Retrofit magic without holes.
Align the wing plate (curved mount) over the hole, matching screw holes.
Detailed mount:
- Slide wing plate onto spindle (it hugs the door edge).
- Position smart lock body over wing plate—tabs snap in.
- Secure with provided screws (hand-tighten first, then firm).
- Attach any cover or escutcheon for sleek look.
August example: Wing plate grips existing deadbolt tailpiece—no adjustments.
Schlage/Yale: Similar, with auto-align wings.
Time saver: Most self-align. Tug gently to test stability.
Common error: Misaligned spindle? Rotate thumb turn outside to match.
Test spin: Interior should turn smoothly. You're halfway!
Step 5: Pair with the App (1 Minute)
Tech time—effortless Bluetooth magic.
Open app, select "Add Lock."
Pair process:
- Enable Bluetooth/location permissions.
- Press pairing button on lock (usually reset hole with pin).
- App scans—lock blinks/LEDs flash.
- Name your lock (e.g., "Front Door").
- Connect to Wi-Fi (2.4GHz preferred).
iOS: Works with HomeKit. Android: Alexa/Google seamless.
Pitfall: No pair? Restart Bluetooth, move closer (within 10 feet).
Pro: Auto-firmware updates keep it secure.
Step 6: Test Keyless Entry (1 Minute)
Proof it works!
In app: Unlock via tap. Hear motor whir? Thumb turn spins—success!
Tests to run:
- Auto-unlock (geofencing: detects your phone nearing).
- Manual unlock/lock.
- Physical key override.
- Battery status check (app shows %).
Walk outside, lock via app, unlock with key. Smooth? Golden.
Safety: Enable "Activity Log" for who/what/when tracking.
Renter-friendly: Logs prove no unauthorized access.
Step 7: Set Up App Features for Guests and Codes (1 Minute)
Elevate to pro level.
Guest magic:
- In app: "Share Access" > Generate PIN code or e-key.
- Set schedules (e.g., cleaner 10-11 AM Tuesday).
- Temporary access expires automatically.
- Revoke anytime.
Bonus: Voice control—"Alexa, lock door."
Why love it? No key handoffs. Family gets permanent codes.
Common setup: Quiet mode (no beeps) for apartments.
Total time: Under 10 minutes! High-five.
Why No-Drill is Renter-Perfect
Beyond speed, no-drill shines for renters.
- Reversible: Unscrew, replace old plate—zero traces.
- No lease violations: Exterior identical.
- Affordable: $100-250 vs. $300+ full replacements.
- Apartment-proof: Works on metal/wood doors.
Data point: August claims 95% compatibility; user reviews rave about 5-minute installs.
Beginners thrive—no power tools, no ladder.
Common Mistakes and How to Avoid Them
Even pros slip—here's your cheat sheet.
| Mistake | Why It Happens | Fix |
|---|---|---|
| Won't pair with app | Wi-Fi/Bluetooth off | Toggle airplane mode, retry within 3 feet |
| Door alignment issues | Spindle mismatch | Rotate exterior thumb turn to 6 o'clock position |
| Batteries drain fast | Poor fit | Ensure tight screws; use rechargeables |
| Motor jams | Debris in hole | Clean with compressed air; lube spindle lightly |
| App glitches | Outdated OS | Update app/phone firmware |
Anticipate: Practice on a similar door if nervous.
Troubleshooting Common Issues
Hit a snag? Systematic fixes.
Door alignment woes:
- Measure strike plate gap.
- Shim wing plate if needed (kits include).
- App calibration mode resets alignment.
Battery fit problems:
- Polarities match (+/-).
- Non-alkaline for longevity (1+ year).
No Wi-Fi? Use bridge (August) or direct connect (Schlage).
Lock unresponsive: Hold reset 10 seconds—factory reset, re-pair.
Still stuck? App chat support or YouTube model-specific vids (search "August install fail").
Pro tip: Firmware auto-updates fix 80% glitches overnight.
Upgrade Tips for Your Smart Lock
You've nailed basics—level up!
- Add keypad: August Keypad Pro ($80)—PIN entry without phone.
- Doorbell bridge: Yale integrates with Ring.
- Hub: For Zigbee/Z-Wave whole-home.
- Biometrics: Future-proof with fingerprint add-ons.
Cost-benefit: Keypad pays off for deliveries.
Maintenance: Swap batteries yearly; vacuum dust quarterly.
Final Thoughts
Congrats! You've mastered "how to install smart lock no drilling." In 10 minutes, your door's smarter, safer, and key-free.
Share access, track entries, sleep easy. Renters: Snap before/after pics for peace of mind.
Questions? Drop app support a line. Enjoy your upgrade!